A WAY OF GROWING AND DYEING WITH
COSMOS
Cosmos sulphureus
by
Graham Keegan, Dyer
UPDATED 5.19.2023
I've had my eye on Sulfur Cosmos for the past decade - having seen beautiful orange yarns and steamed flower imprints. I only recently had the opportunity to grow it! The blooms are a very popular flower for use in bundle dyeing, which is outside my experience. I wanted to grow the flowers and try my typical mordant block print onto the fabric and see what colors develop with aluminum acetate, ferrous acetate and a blend of the two. I was delighted by the range of color that quickly leapt from the dye pot onto the mordanted fabric - from a rich, pumpkin orange when mordanting with aluminum acetate to a warm brown brown when mordanting with ferrous acetate.
•
THE GROWING
The flowers themselves are very easy to grow! The zone range for the plant, which originated in Mexico and Central America is from 2a to 11b according to this extension plant listing. I’ve grown them both in Los Angeles and in zone 4a in Vermont, near the coldest of their range with absolutely problems or even minor challenges.
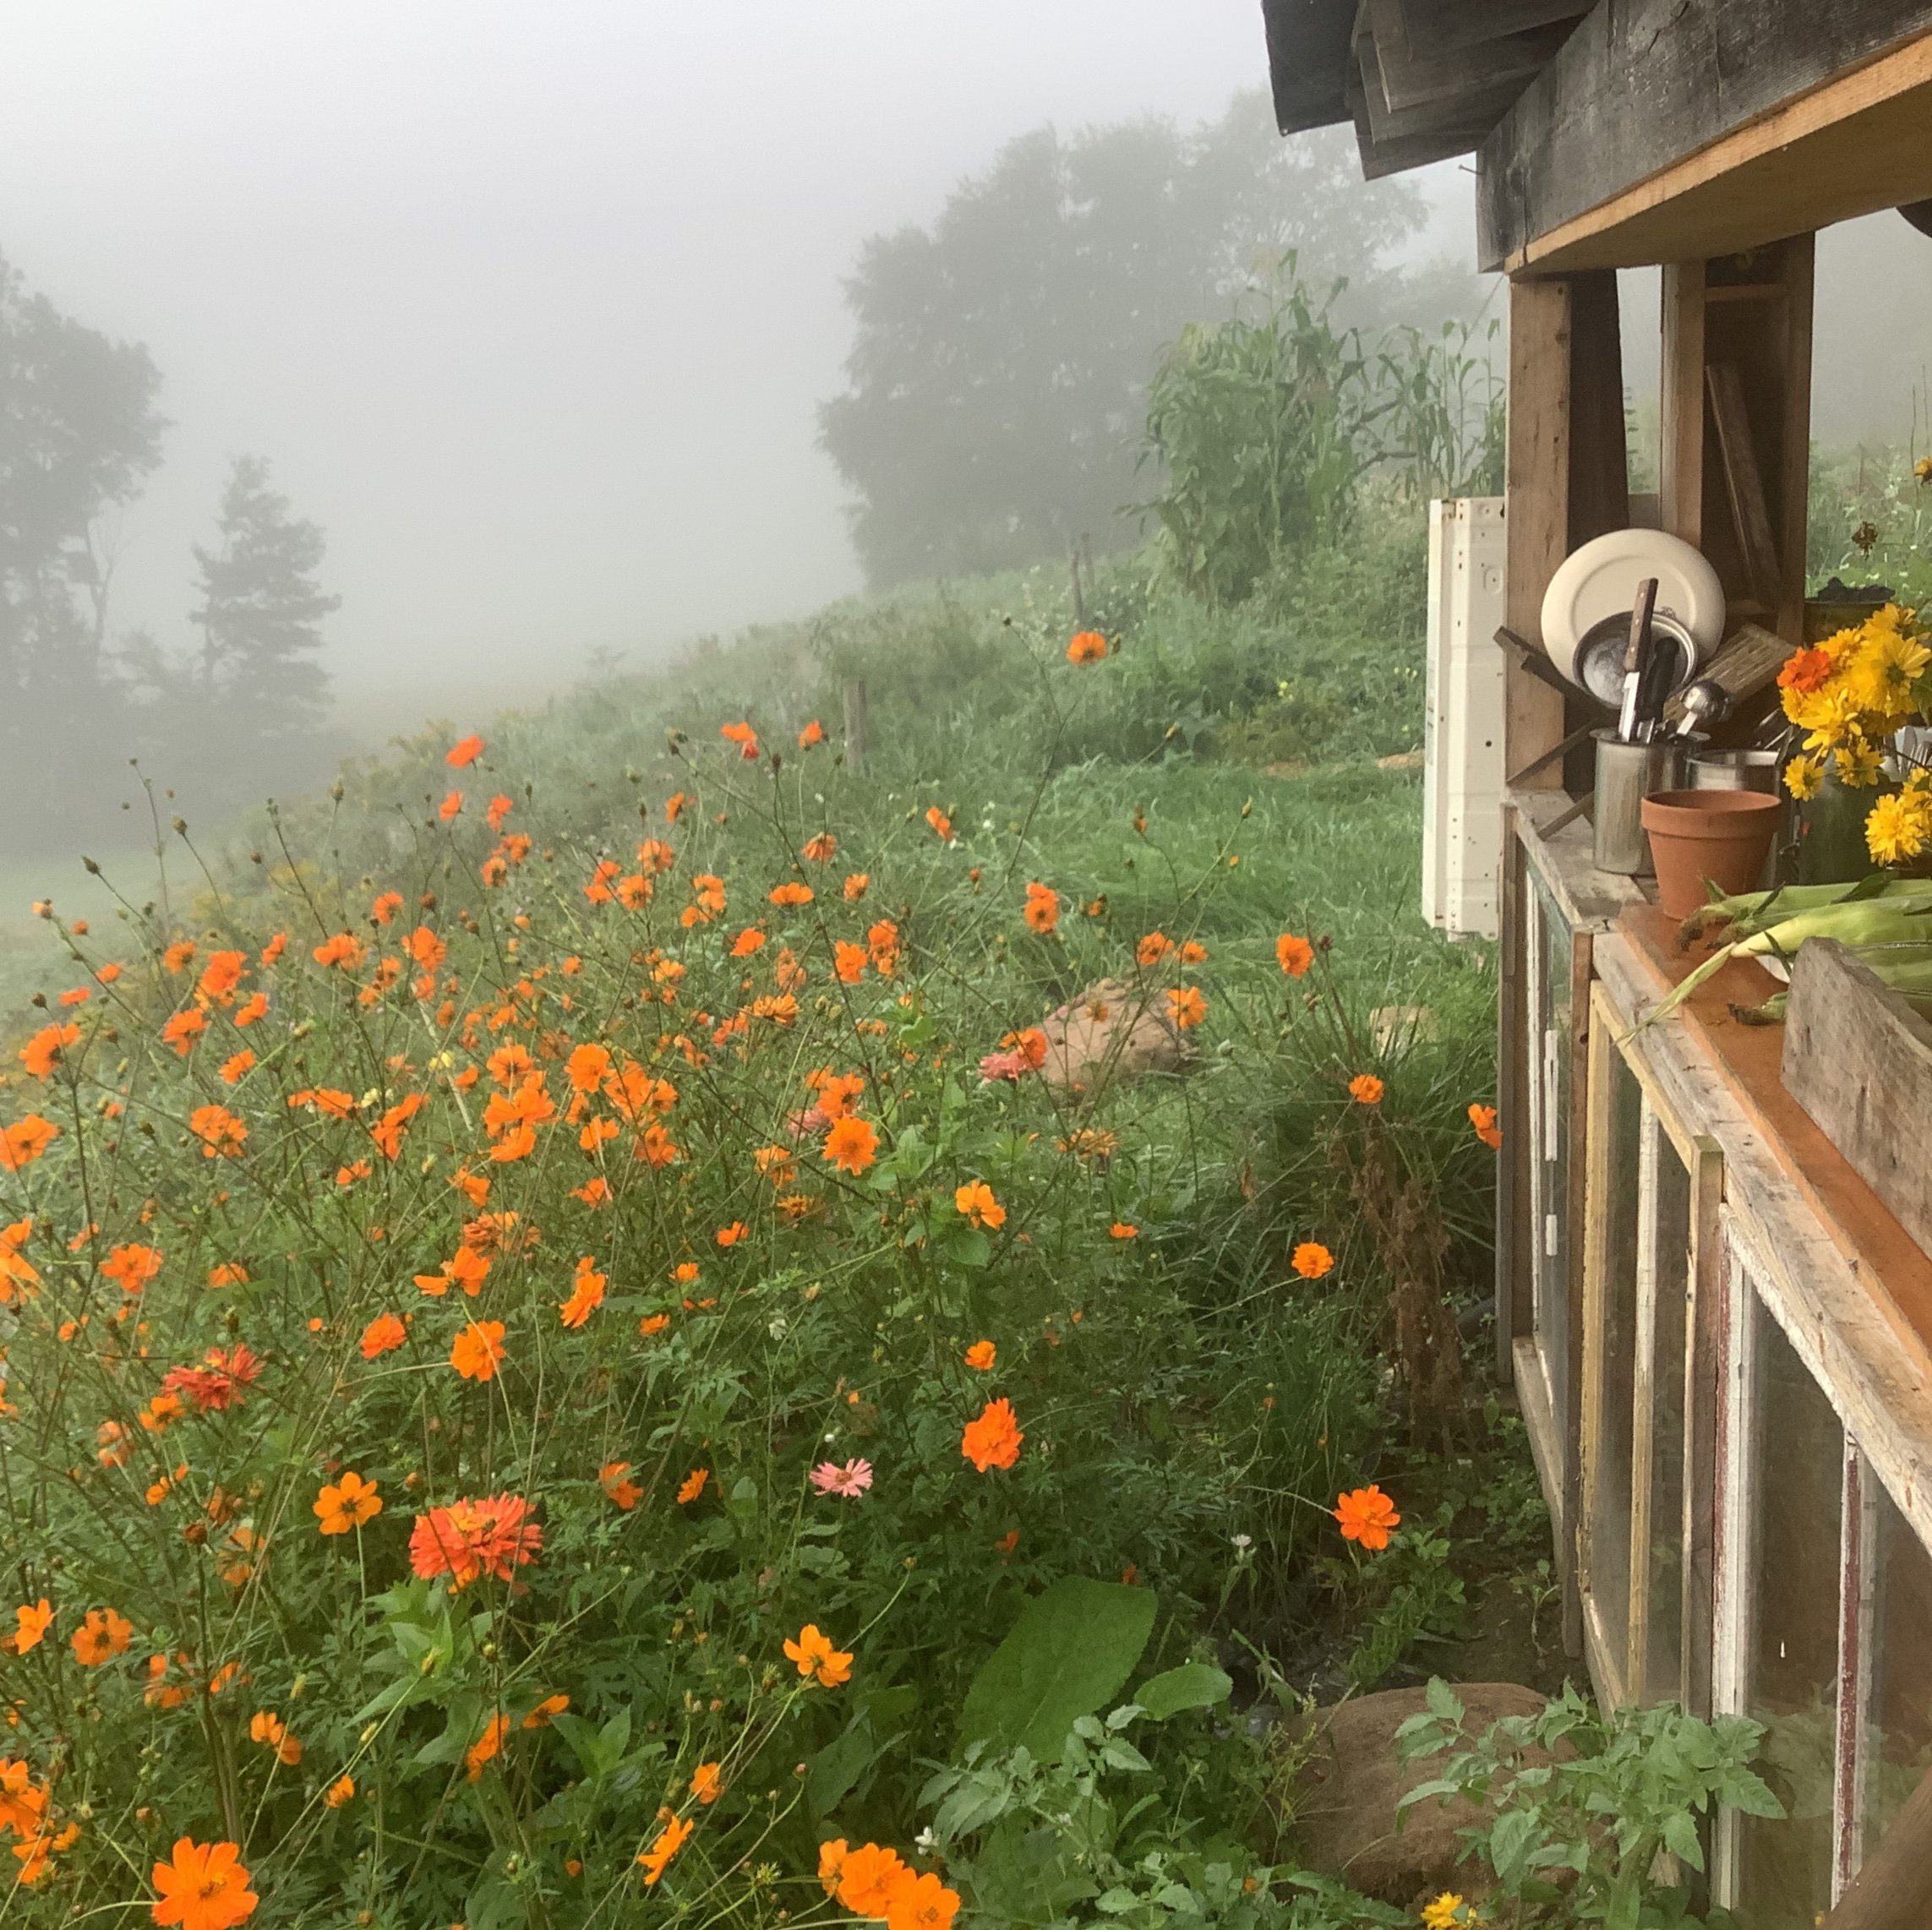
This patch of Cosmos was tended only infrequently when the plants were small - I spent some time weeding and thinning the plants, but once they got going the cosmos took over the area and shaded out most of the competition. A couple zinnias and echinacea survived to bloom.
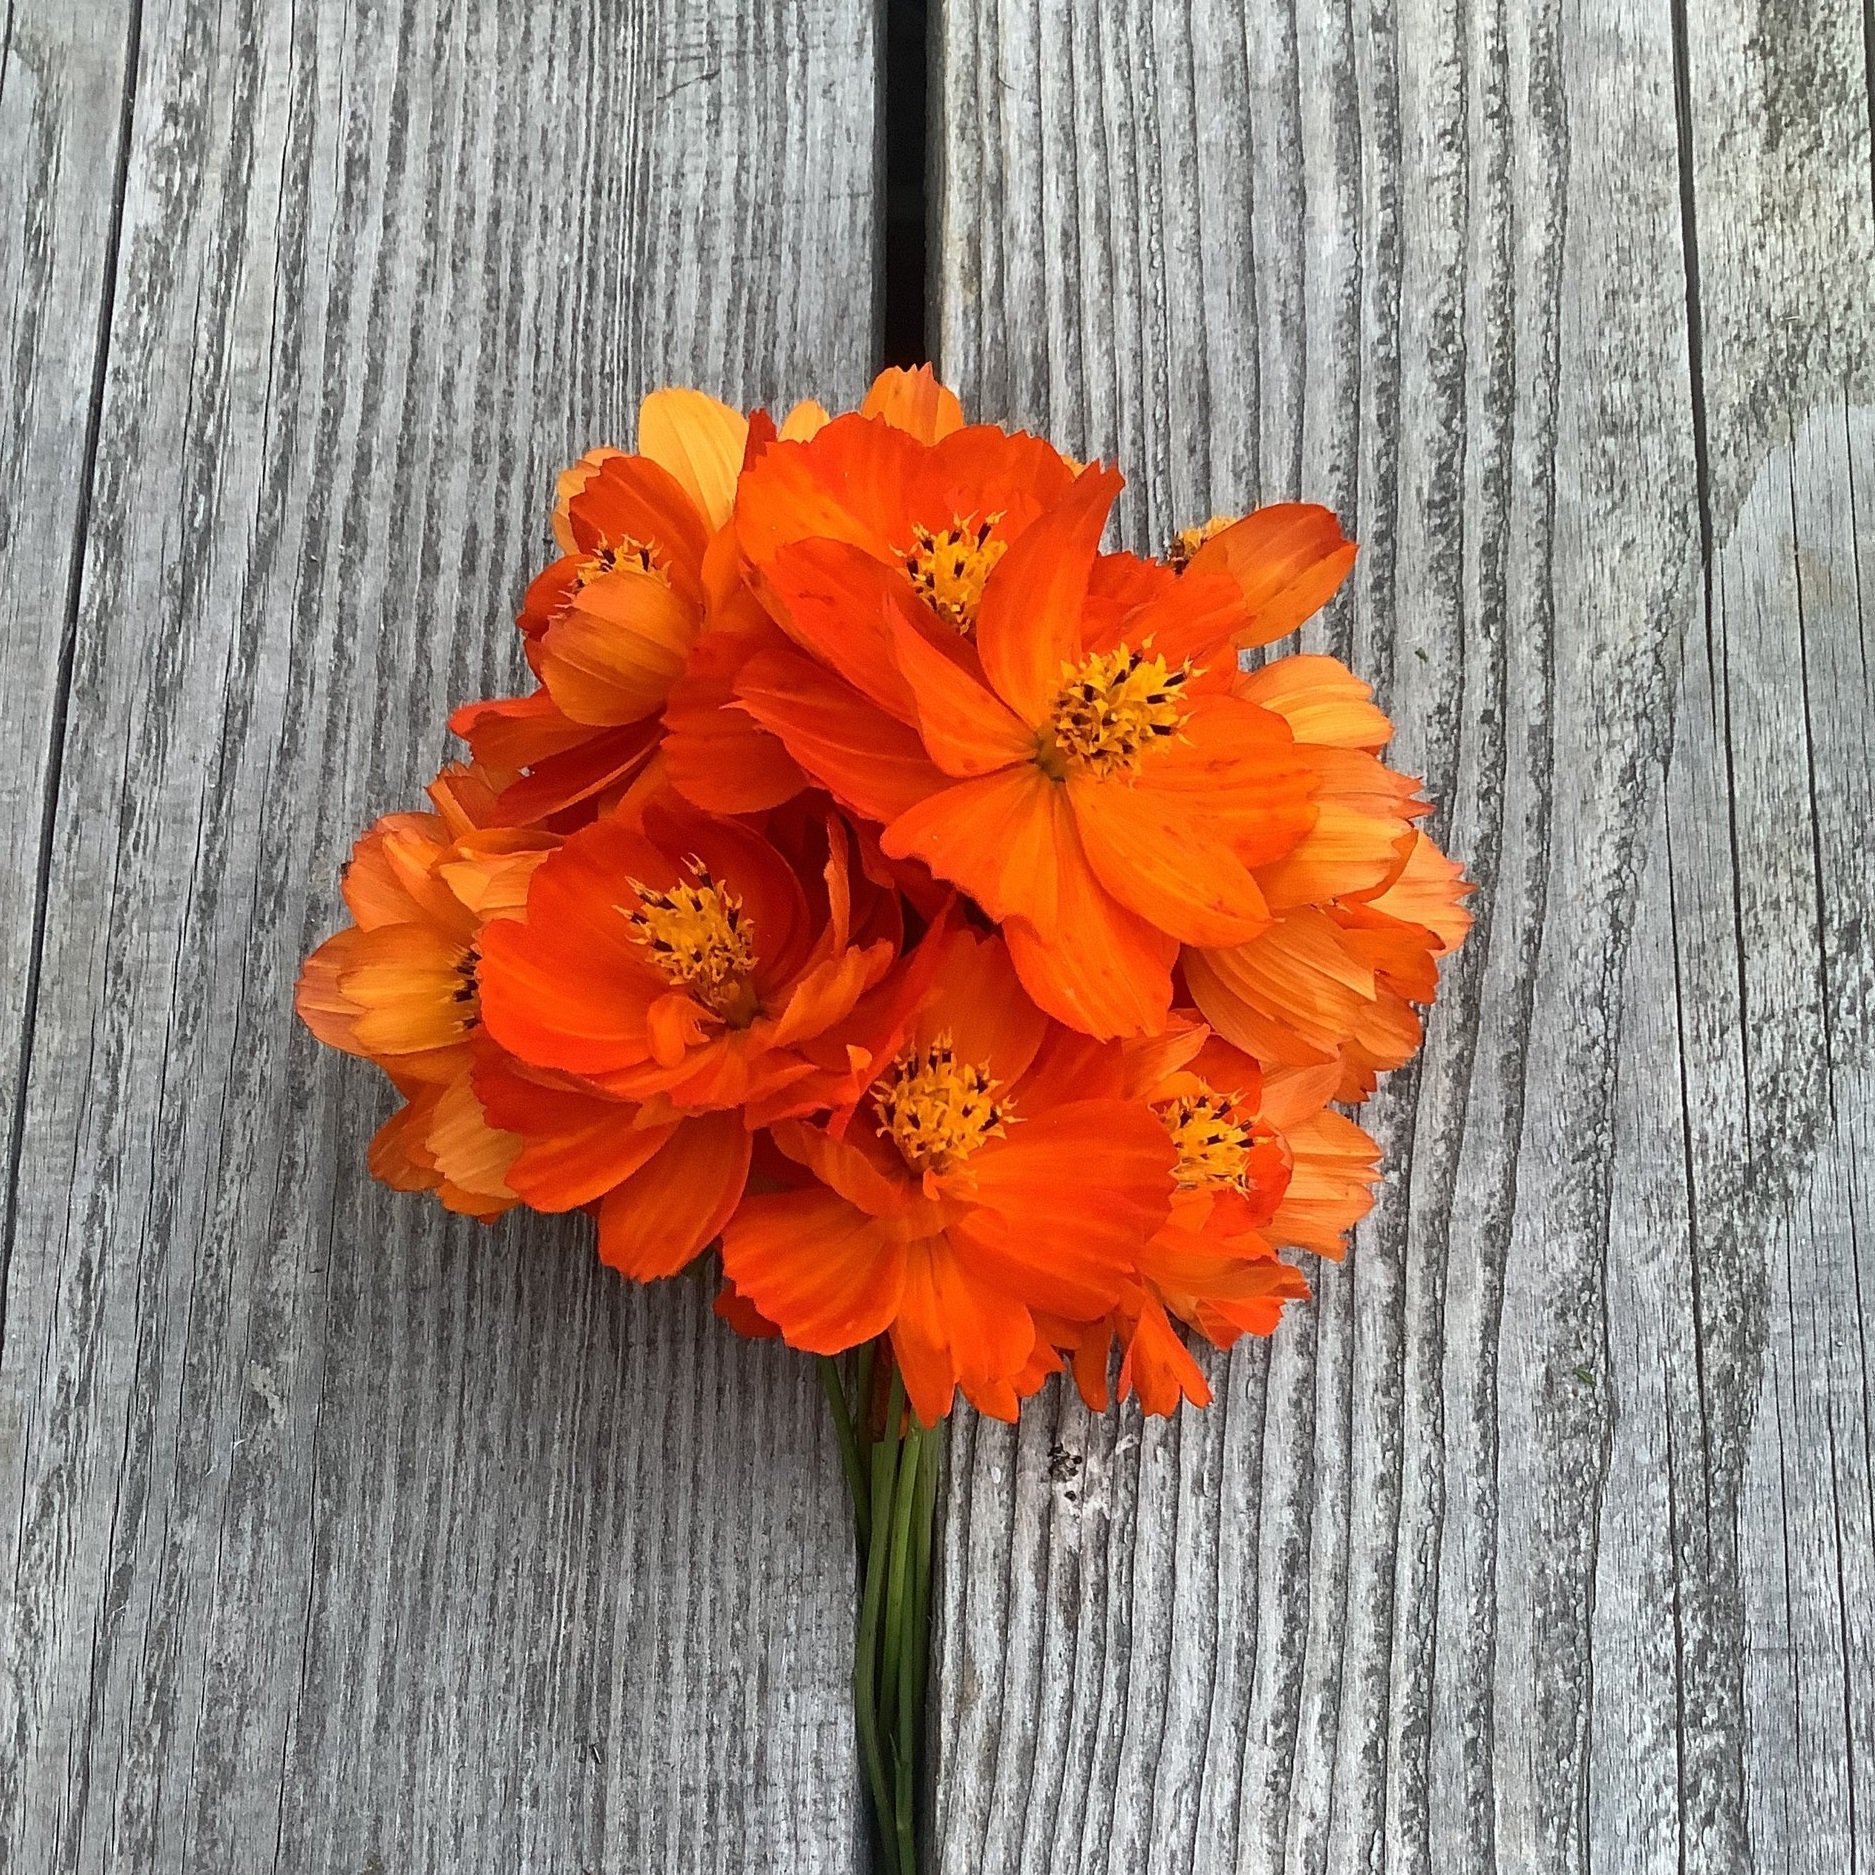
By June in California, and Early September in Vermont, Cosmos Bloom! Grown for the flavonoids contained in the leaves including Coreopsin, these flowers yield a vibrant orange when dyed onto mordanted cellulose and protein fibers including cotton, silk and wool.
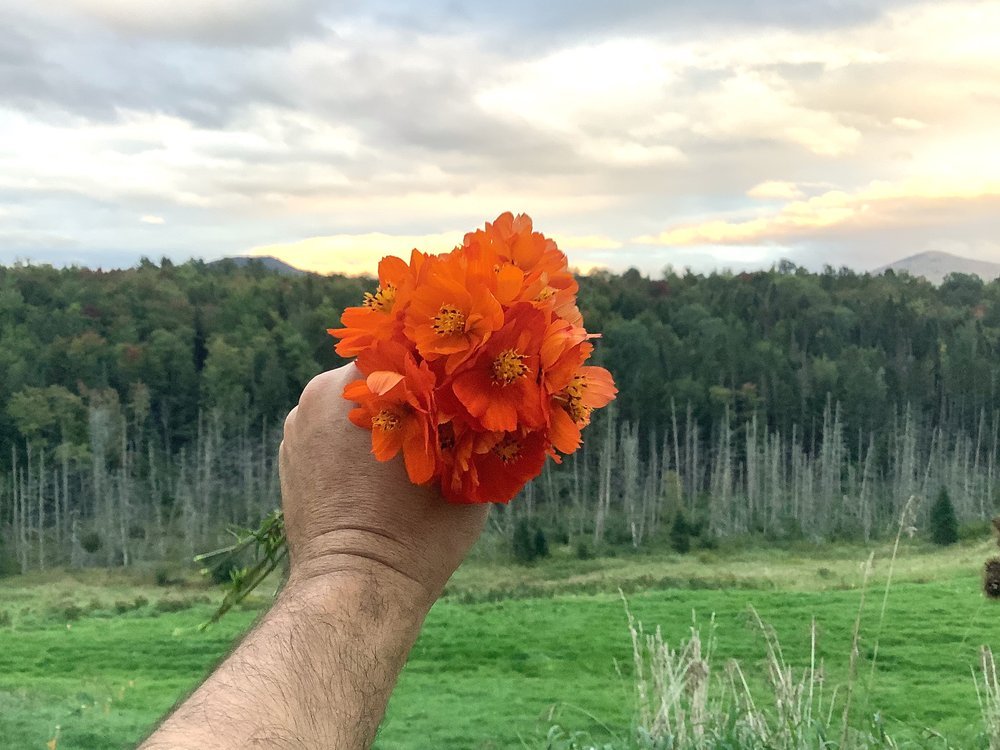
For planting in Vermont (Zones 3-4) - and colder zones - I typically would start my seeds indoors. However with these Cosmos, I just worked the seed into the top of the soil around June first and crossed my fingers! They could potentially be planted a week or two earlier but I found that they did great despite my near-continuous neglect. These seem like a great candidate for direct seeding - as I prefer to bypass transplanting and all the complications that come with it in the short growing season there.
They were planted in a 3/4 sun plot right next to a building. They seemed to sprint out of the ground once they had germinated, to flower quickly and continuously until they were finally taken down by a late frost. They plants started to flower - consistent 2- 2.5" orange blossoms - when they were a couple feet tall and then continued to grow upward to a little over 5' by the end of the season. They continued to bear flowers for months - though I was constantly dead-heading or harvesting the young flowers to use for dyeing. They flowers bear on the end of a slender stem that lends the plant an overall wispy - but ebullient appearance.
I never watered the plants once they had germinated - though the weather over the summer in Vermont provided quite regular hydration. If you're growing in a climate that doesn't get much rain during their growing season- you may have to irrigate occasionally. I did not fertilize at any time throughout the growing season. The soil was a silt/sand loam that had been amended with compost prior to seeding.
Grown specifically for the dye function of the fresh or dried flower heads or petals, Dyers Cosmos (Cosmos sulphureus) has the added benefit of being a beautiful cut flower that continues to bear on the plant for months!
I've read that the plants can be cut back to between 1-2' and they will rejuvenate and create more blooms - perhaps with more density, though I found that I liked the tall rangy appearance of the mature plant. The plants on the outside of the patch could not hold themselves upright by the end of the season and were flopping over the paths after some late season wind and rain storms. This could have been avoided with some staking and tying up of the plants - but their slump seemed to have no ill effect on the bloom and flower bearing.
The continuous flowering of the plants, from July through October, seemed to give the local hummingbirds, butterflies, beetles, moths and bees plenty of time to spread the word about the steady pollen and nectar supply! Late summer and early fall was absolutely abuzz with continuous activity on all the new blossoms that unfurled daily. I would just sit and watch all the visitors to the flowers in the mornings and evenings when I was around.
I was harvesting flowers to use for dyeing throughout the summer and early fall. I did not do any dyeing with the fresh flowers, though that is definitely an option. I have a dehydrator for all my garden veggies and summer produce so I just ran a few batches of leaves through the dryer. I saved a quart or so of dried flower heads

•
THE DYEING
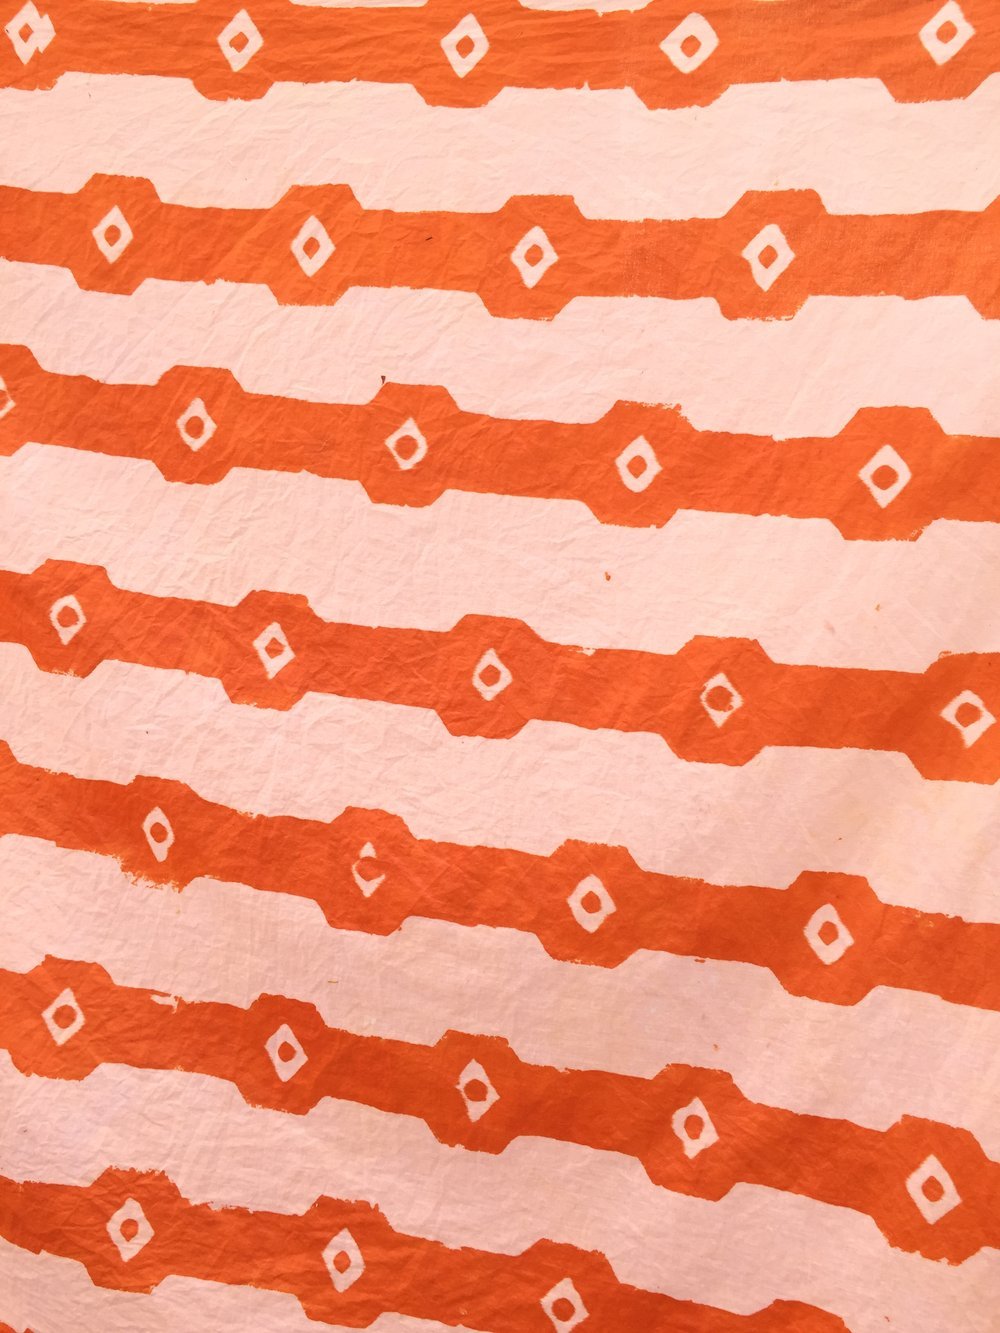
Using just a few ounces of dried flowers, I was able to dye these sample fabrics to some incredibly dense/saturated oranges and browns.
In my typical fashion, I did not measure the flowers as I sprinkled them into a pot of simmering water. If I had to guess, I’d say I probably used about a cup of them. Though, I found them surprisingly strong - so much so that I definitely did not exhaust the dye vat even after dyeing about 2 square yards of fabric. Though, I can say that working with properly prepared mordanted fabrics (namely fabrics that have been printed, dried and THOROUGHLY rinsed) the dye pots last quite a long time because there is no excess mordant leeching off the fabric and forming a lake with the dye molecules and falling out of suspension in the pot.
The infusion of flowers was held at a simmer for about 20 minutes to extract as much color from the blooms as possible. Even after boiling the flowers and that time plus the 20-30 minutes of time that the mordanted pieces were placed into the pot, the blooms still appeared orange-ish - that is to say, not dull cream colored or totally exhausted of color. The remaining color visible in the bloom indicate to me that a longer infusion could even get more of the colorant out of the petals that could be available to dye the fabric.
I referenced this article analyzing the color sources from ancient Peruvian textiles for information about the molecular contents of the Cosmos sulphureus blooms - then cross referenced the flavonoids mentioned: coreopsin, butein and okanin in Dominique Cardon’s ‘Natural Dyes’. I found that the plants that contained these compounds often called for ‘long’ extractions. Specifically, based on what I saw, I could easily recommend a minimum 30 minute infusion in simmering water, up to an hour with no degradation of the color. I’d have to do some more dyeing with the material to recommend an extraction time any longer than that. I’ll update this page if I come across any information or experiences that counter this.
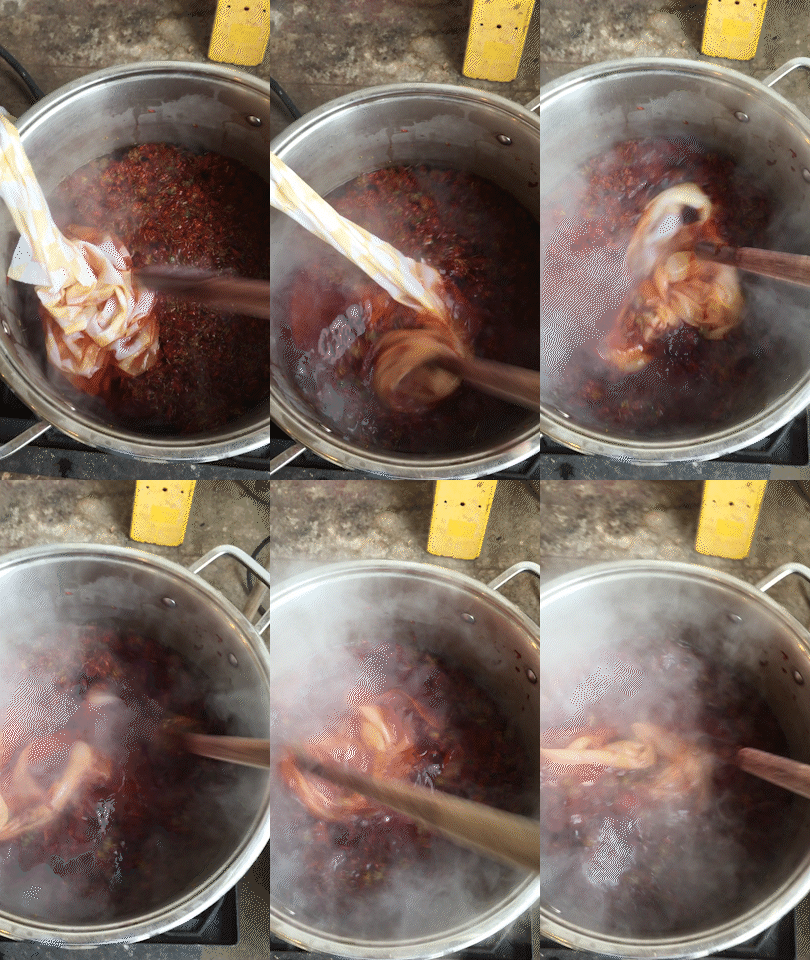
The fabric seen here has been block printed with a mordant, thoroughly dried and then even-more-thoroughly rinsed to remove any excess mordant. When it is submerged into the dye pot, the color immediately begins to ‘hit’ on the mordanted areas, while the backgrounds don’t take up any appreciable amount of color.
When submerging my fabric into the dye pot, I like to do some aggressive stirring and get the fabric totally submerged before ‘making it dance’. This abstract poking motion of the fabric is superior to circulating the fabric, which causes the yardage to bundle and clump, which does not allow pigment to easily reach the inner folds.

•
I’ll occasionally (every five minutes or so) lift the fabrics out of the dye pot to inspect the saturation level of the color on the fabric. With a little bit of experience and eye-training, you’ll be able to discern when the fabric has absorbed as much color as it is going to.
Examine the Cosmos dye uptake every so often to see how much color is on the fabric. You can see the areas that are orange and brown have been dyed by the coreopsin, butein etc, while the non-mordanted areas of the fabric remain almost white. In fact, when the fabric dries, the backgrounds often appear even whiter.
After about 30 minutes of stirring, prodding and soaking in the infusion, the pieces have taken up all the color that they’re going to. The orange is fully saturated and the brown is rich and dark. From here, I’ll take the fabrics to the sink to thoroughly rinse off the excess flower bits and any dye liquor still absorbed in the cloth.
Once the fabrics have been rinsed, I’ll wring them out and hang them to dry - ideally out of the sun. Typically, dyes that have just been applied are susceptible to sun fading when they are still wet out of the pot. It’s truly best to dye them in the shade at room temperature.
•
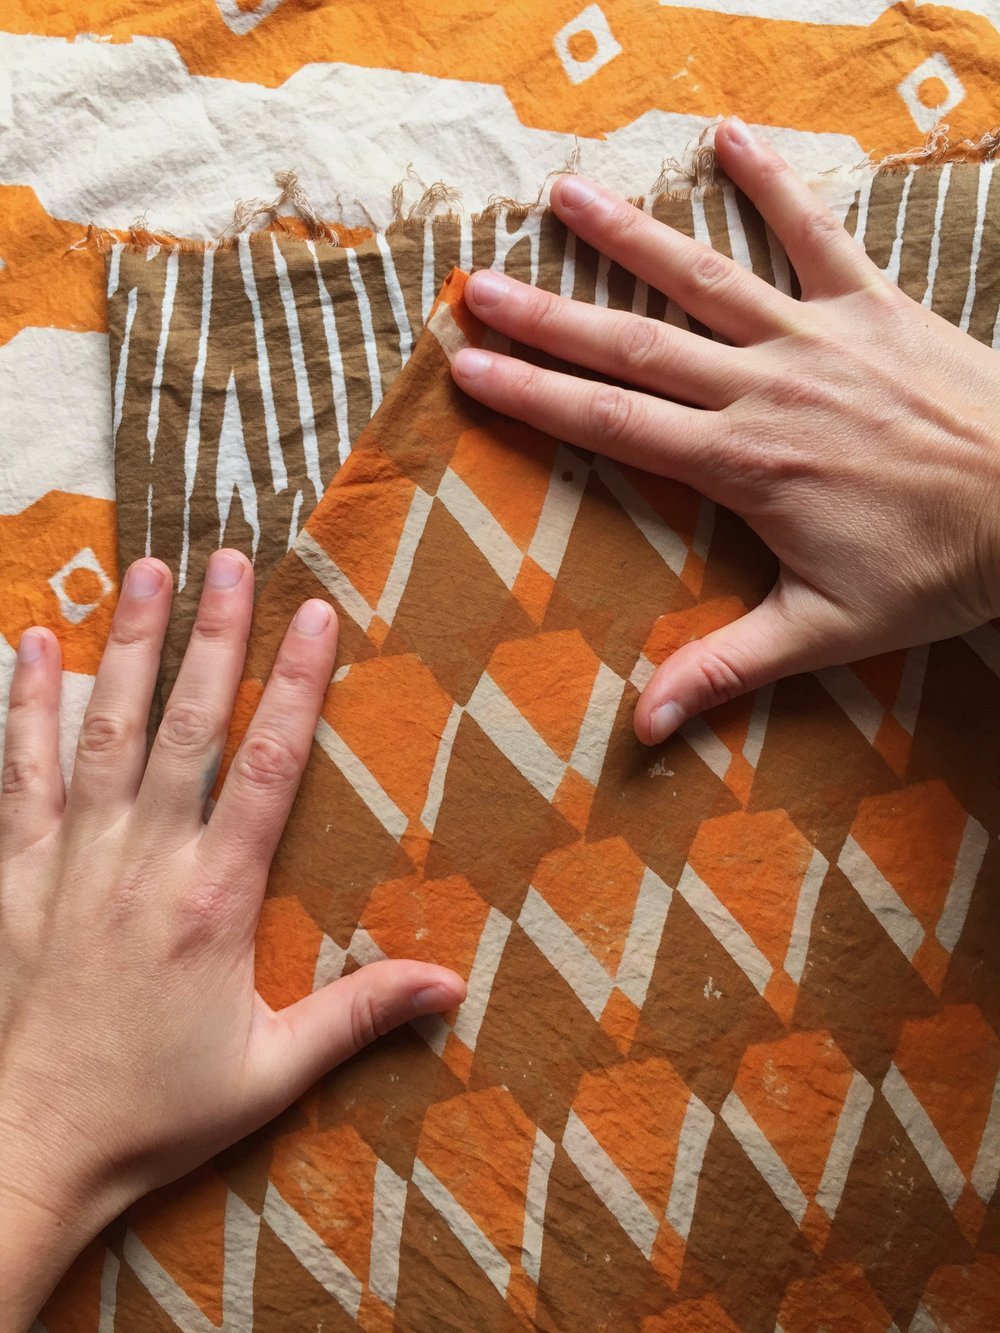
When still wet from the dye pot, the colors always appear more saturated than they will when finally dried. This said, the orange here is truly BLASTING - especially when viewed in person. This orange was achieved by printing with a thickened paste of Aluminum acetate - recipe on my tutorials page. I was so impressed and delighted by the tones. I’m curious about how it will hold up to UV exposure and change over time - as I’ve found most flavonoid colors to go more ‘mustardy’ over time - losing vibrance and saturation. I’ll keep my eye on the piece and post about it if I notice any appreciable change.
The ferrous acetate + cosmos brown is chocolatey and smooth. The non-mordanted portions of the fabric picked up almost no dye - in typical fashion for flavonoid dyes. If I was layering this color with others in a chintz style process, I’d do this last because of how little impact it would have on the already placed colors.
I found that the color both warmed and faded when I applied a steam iron to the fabric to try to get out the wrinkles. I was able to visually watch the color loose a click of saturation. In future, I would not recommend steam ironing the pieces, and if you’re dead set on flattening your fabrics, try a low heat setting perhaps. Even after that color loss, the orange still feels vibrant and saturated!
To conclude - Cosmos! Easy plant to grow, beautiful flowers, great dye colors that behave well on a range of materials. Grow it!
Graham
February 3, 2022


